Drill Bit Speed Chart: The Right RPM for Steel, Stainless, Aluminium and Wood
Running a drill too fast is the single most common reason bits die early. Here is the RPM to use for each material and diameter, the formula behind it, and how to tell from the chips whether you got it right.
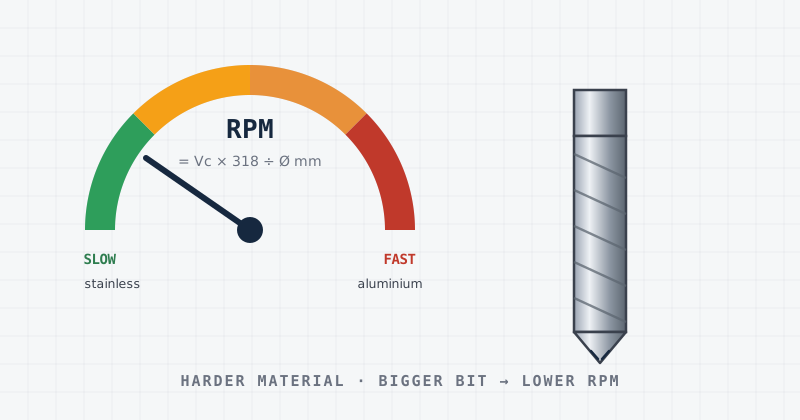
Most drill bits do not wear out. They get cooked. Run a 10 mm bit through stainless at the speed you would use for pine and the cutting edge passes its tempering temperature in a few seconds — after that it is soft, it rubs instead of cutting, and it is finished. The bit was fine. The speed was not.
This page gives you the numbers. Print it, tape it inside the toolbox lid, and you will get several times the life out of the same bits.
The one formula worth knowing
Every drill has a cutting speed (Vc) — how fast the outer edge should travel through the material, in metres per minute. It is a property of the material and the bit, not of the machine. Your drill dial is in RPM, so you convert:
RPM = (Vc × 318) ÷ diameter in mm
Example: mild steel has a cutting speed of about 28 m/min for a standard HSS bit. With an 8 mm bit: (28 × 318) ÷ 8 = 1,113 RPM. Set the drill to the nearest speed below that.
Two things fall out of this formula, and they explain most of what people get wrong:
- Bigger bit, slower speed. The outer edge of a 13 mm bit travels more than four times as far per revolution as a 3 mm bit. Large bits need low RPM — this is why big holes want a drill press or a low-gear cordless drill, not a trigger held flat out.
- Harder material, slower speed. Stainless takes roughly a third of the speed of mild steel. Aluminium takes two to three times more.
Drill speed chart (HSS and cobalt bits)
Speeds below are for standard HSS bits, except the stainless row which assumes an M35 cobalt bit. If you are drilling stainless with plain HSS, drop another 30%.
| Material | Vc (m/min) | 3 mm | 5 mm | 6 mm | 8 mm | 10 mm | 13 mm |
|---|---|---|---|---|---|---|---|
| Mild / low-carbon steel | 25–30 | 2,900 | 1,800 | 1,500 | 1,100 | 900 | 700 |
| Stainless 304/316 (cobalt bit) | 10–12 | 1,300 | 760 | 640 | 480 | 380 | 290 |
| Cast iron | 20–25 | 2,300 | 1,400 | 1,200 | 880 | 700 | 540 |
| Aluminium | 60–90 | 7,400 | 4,400 | 3,700 | 2,800 | 2,200 | 1,700 |
| Brass / bronze | 40–60 | 5,300 | 3,200 | 2,650 | 2,000 | 1,600 | 1,200 |
| Copper | 35–50 | 4,000 | 2,400 | 2,000 | 1,500 | 1,200 | 900 |
| Hardwood | 80–120 | max | max | 5,300 | 4,000 | 3,200 | 2,400 |
| Plastics / acrylic | 30–50 | 3,800 | 2,300 | 1,900 | 1,400 | 1,150 | 880 |
"max" means the material is not the limit — your drill's top speed is. For small bits in wood you can run flat out, but keep the feed steady so the flutes clear.
Push harder than you think
The other half of the problem is feed pressure. A drill bit is a cutting tool, and a cutting edge either cuts or it rubs. Rubbing generates heat without removing metal, which work-hardens the surface — and in stainless, a work-hardened surface is harder than the bit that made it.
So: slow speed, firm constant pressure. You should see a continuous chip coming off both flutes from the moment the bit bites until it breaks through. If the chips stop while the bit is still spinning, you are rubbing.
This is doubly true for stainless. Once you glaze the bottom of a hole in 304, no amount of patience will get you through it — you have to grind or punch past the hardened layer to start again.
Point angle: 118° or 135°?
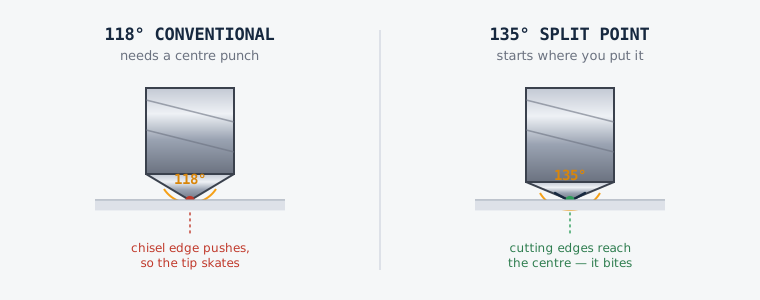
The angle ground into the tip changes how the bit starts and what it suits:
- 118° conventional point — the traditional general-purpose grind. Good in mild steel, wood and plastics. The chisel edge at the centre does not cut, it pushes, so the bit will wander on a flat surface unless you centre-punch first.
- 135° split point — flatter, with the chisel edge ground away so the cutting edges meet almost at the centre. It bites immediately without punching, needs noticeably less feed pressure, and is the right choice for stainless and hardened materials.
For production work on metal, 135° split point is worth paying for. It removes the walking problem, which is where most broken small bits come from.
From our range
Industrial 13-Piece M35 Cobalt Twist Drill Bit Set for Stainless Steel
135° split point, M35 cobalt — the combination that survives stainless.
Coolant: when it matters and when it does not
- Steel and stainless — always. Cutting oil or a soluble-oil mix. Its job is as much lubrication as cooling; it stops the chip welding to the cutting edge.
- Cast iron — dry. Cast iron carries graphite that lubricates the cut, and coolant turns the dust into an abrasive paste.
- Aluminium — paraffin, WD-40 or a wax stick. Aluminium loves to weld itself into the flutes; lubricant is what stops it.
- Wood and plastics — dry, but clear the flutes often. Melted plastic in a flute is the same problem as a welded chip.
Quick reference for the workshop wall
- 01Look up the material. Find the diameter. Set that RPM or the nearest below it.
- 02Centre-punch unless you are using a 135° split point.
- 03Firm, steady pressure until it breaks through — then ease off so the bit does not snatch.
- 04Oil on steel and stainless. Dry on cast iron.
- 05Watch the chips. Blue means stop.
If you are buying bits in bulk for resale, this is also the conversation your customers are having in their workshop. Selling them the right grade for the material they actually cut — cobalt for the stainless fabricators, plain HSS M2 for the general trades — is what brings the repeat order.
Products mentioned in this guide
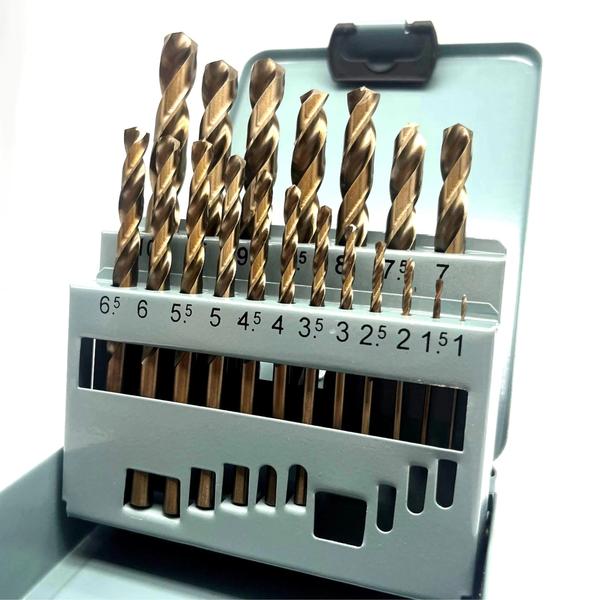
HSS Twist Drill Bits
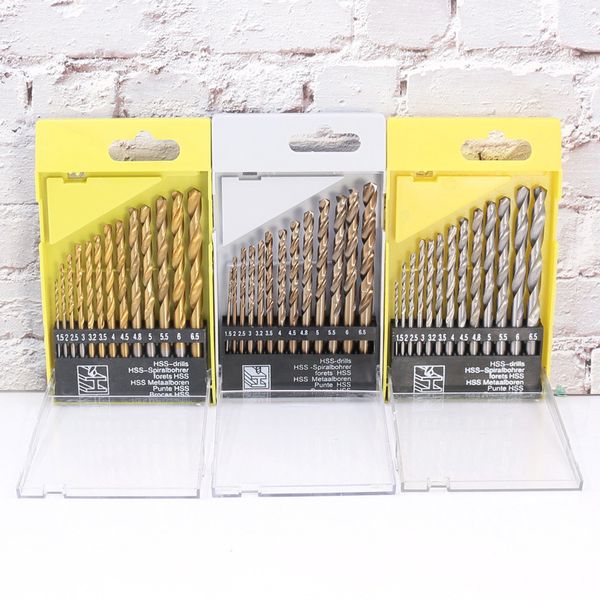
Industrial 19-Piece HSS M2 Twist Drill Bit Set (Bright Finish, 1-10mm)
M35 Cobalt Drill Bits
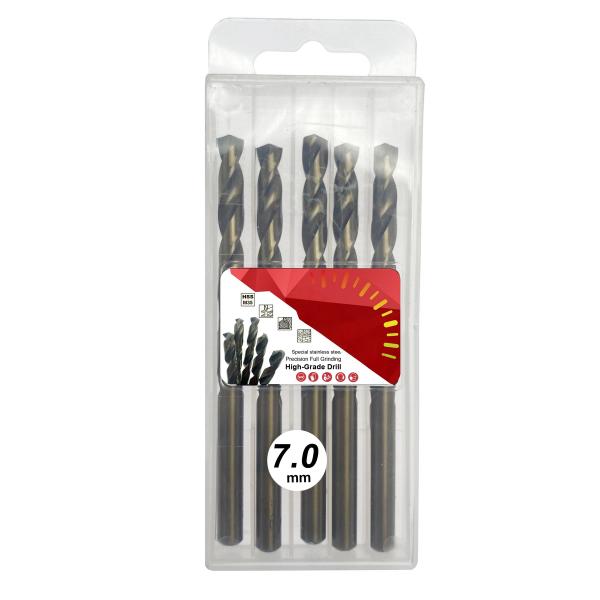
Industrial 13-Piece M35 Cobalt Twist Drill Bit Set for Stainless Steel
M35 Cobalt Drill Bits
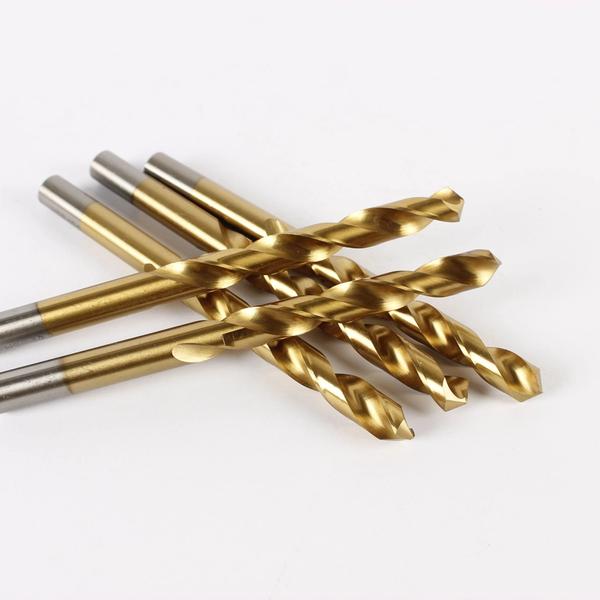
Industrial M35 Cobalt HSS Twist Drill Bit for Stainless Steel (Inox) – OEM
HSS Twist Drill Bits


